
The complete guide
How to Choose a Camp Cooking System That Actually Cooks
The problem with most camp stoves
There is a moment, usually around day two of a trip, when the novelty of boiled-water meals wears off. You have eaten the dehydrated curry. You have had the instant noodles. What you actually want is something you cooked, with a sauce that did not catch on the bottom and a pot you can eat from without burning your knuckles.
Most lightweight stoves are not built for that. They are built to get half a litre of water hot as fast as possible, which is a genuinely useful thing, but it is a narrow skill. Turn the gas down on a cheap burner and you often get a flame that either goes out or surges. Put a flat pot on it in a breeze and half your heat drifts off into the air. You burn through fuel, you burn the bottom of your dinner, and you go back to boiling water.
The other end of the market has the opposite problem. Big two-burner camp kitchens cook beautifully and weigh a tonne. They are brilliant beside a car and useless on a track.
An integrated personal cooking system sits in the middle. It keeps the fast-boil efficiency of a dedicated system but adds enough control that you can treat it like a small hob.
How an integrated system works
The key idea is that the burner and the pot are designed as a pair rather than being two unrelated bits of kit.
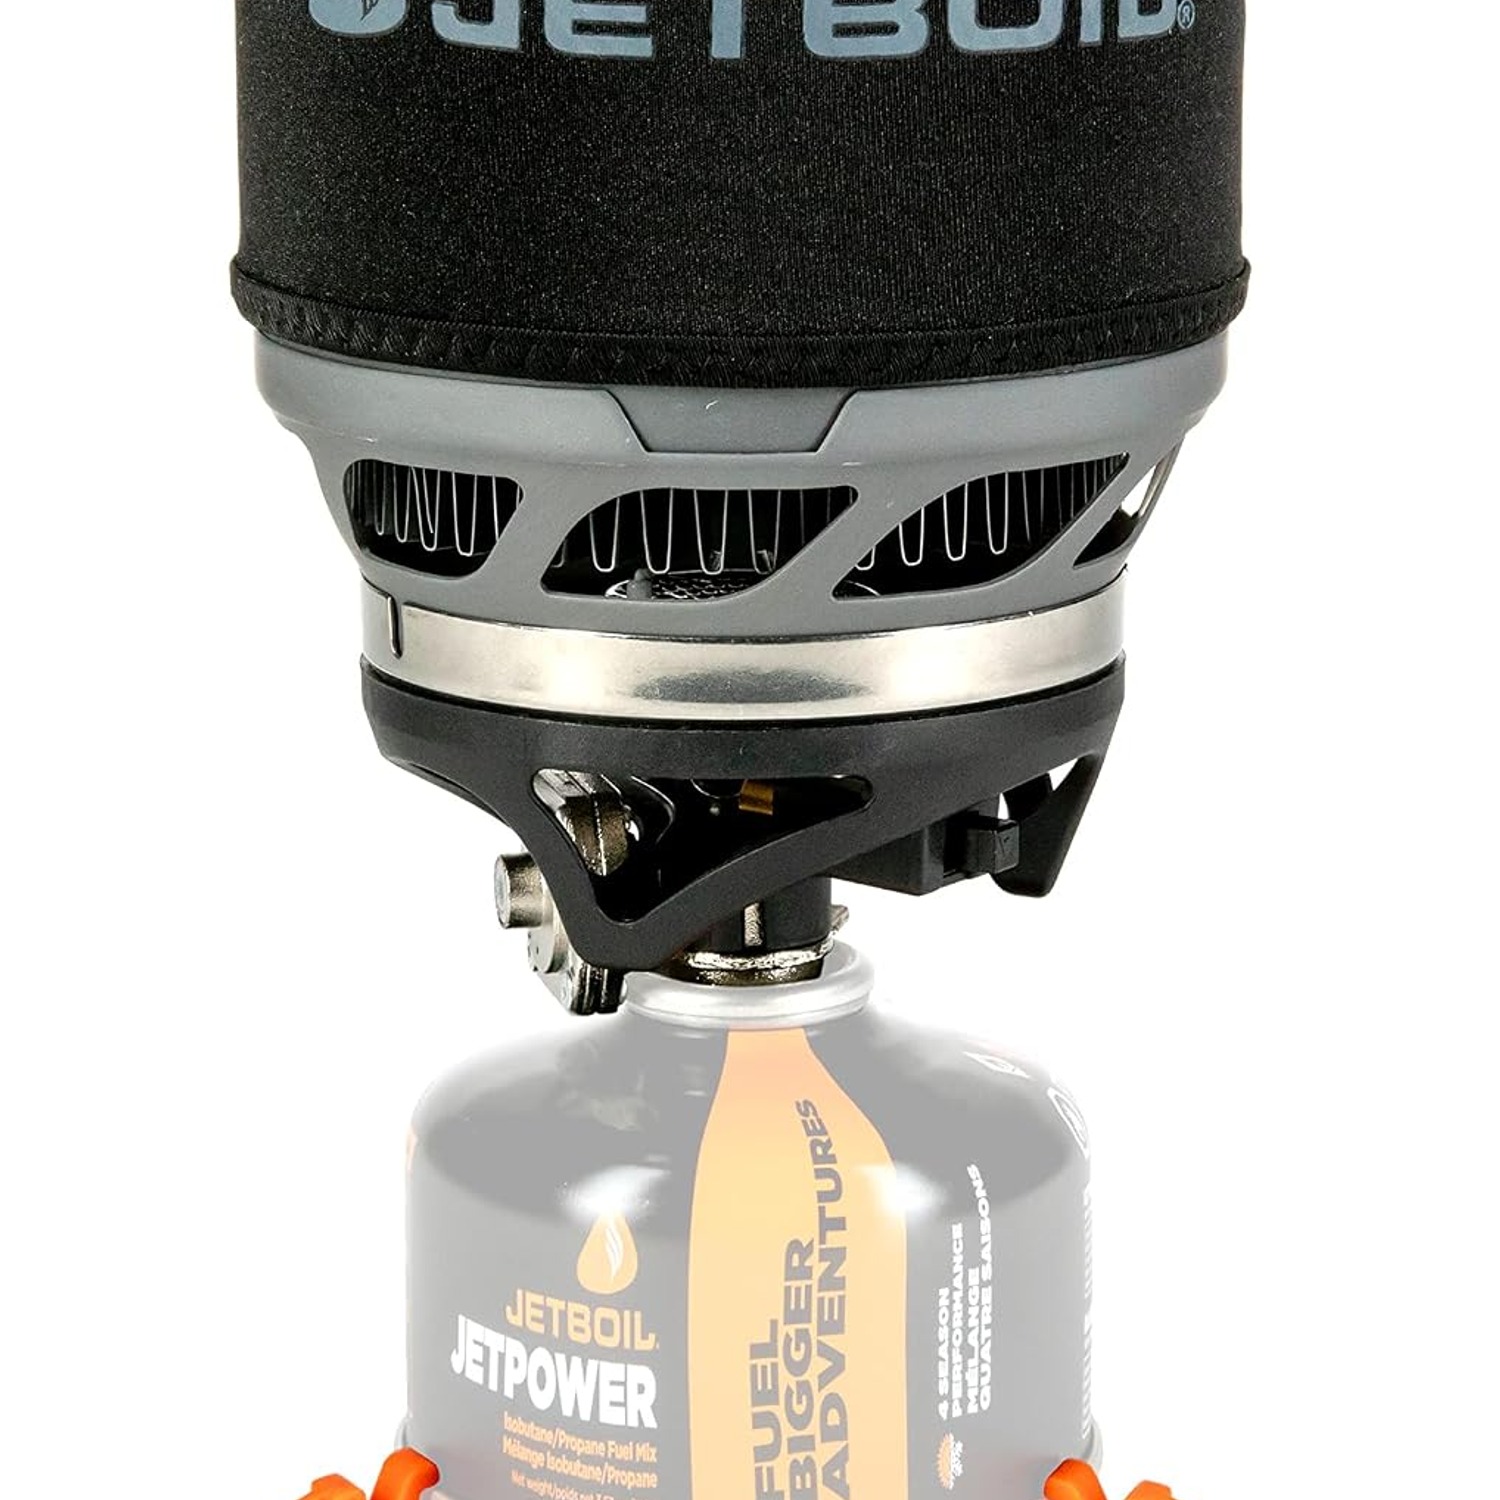
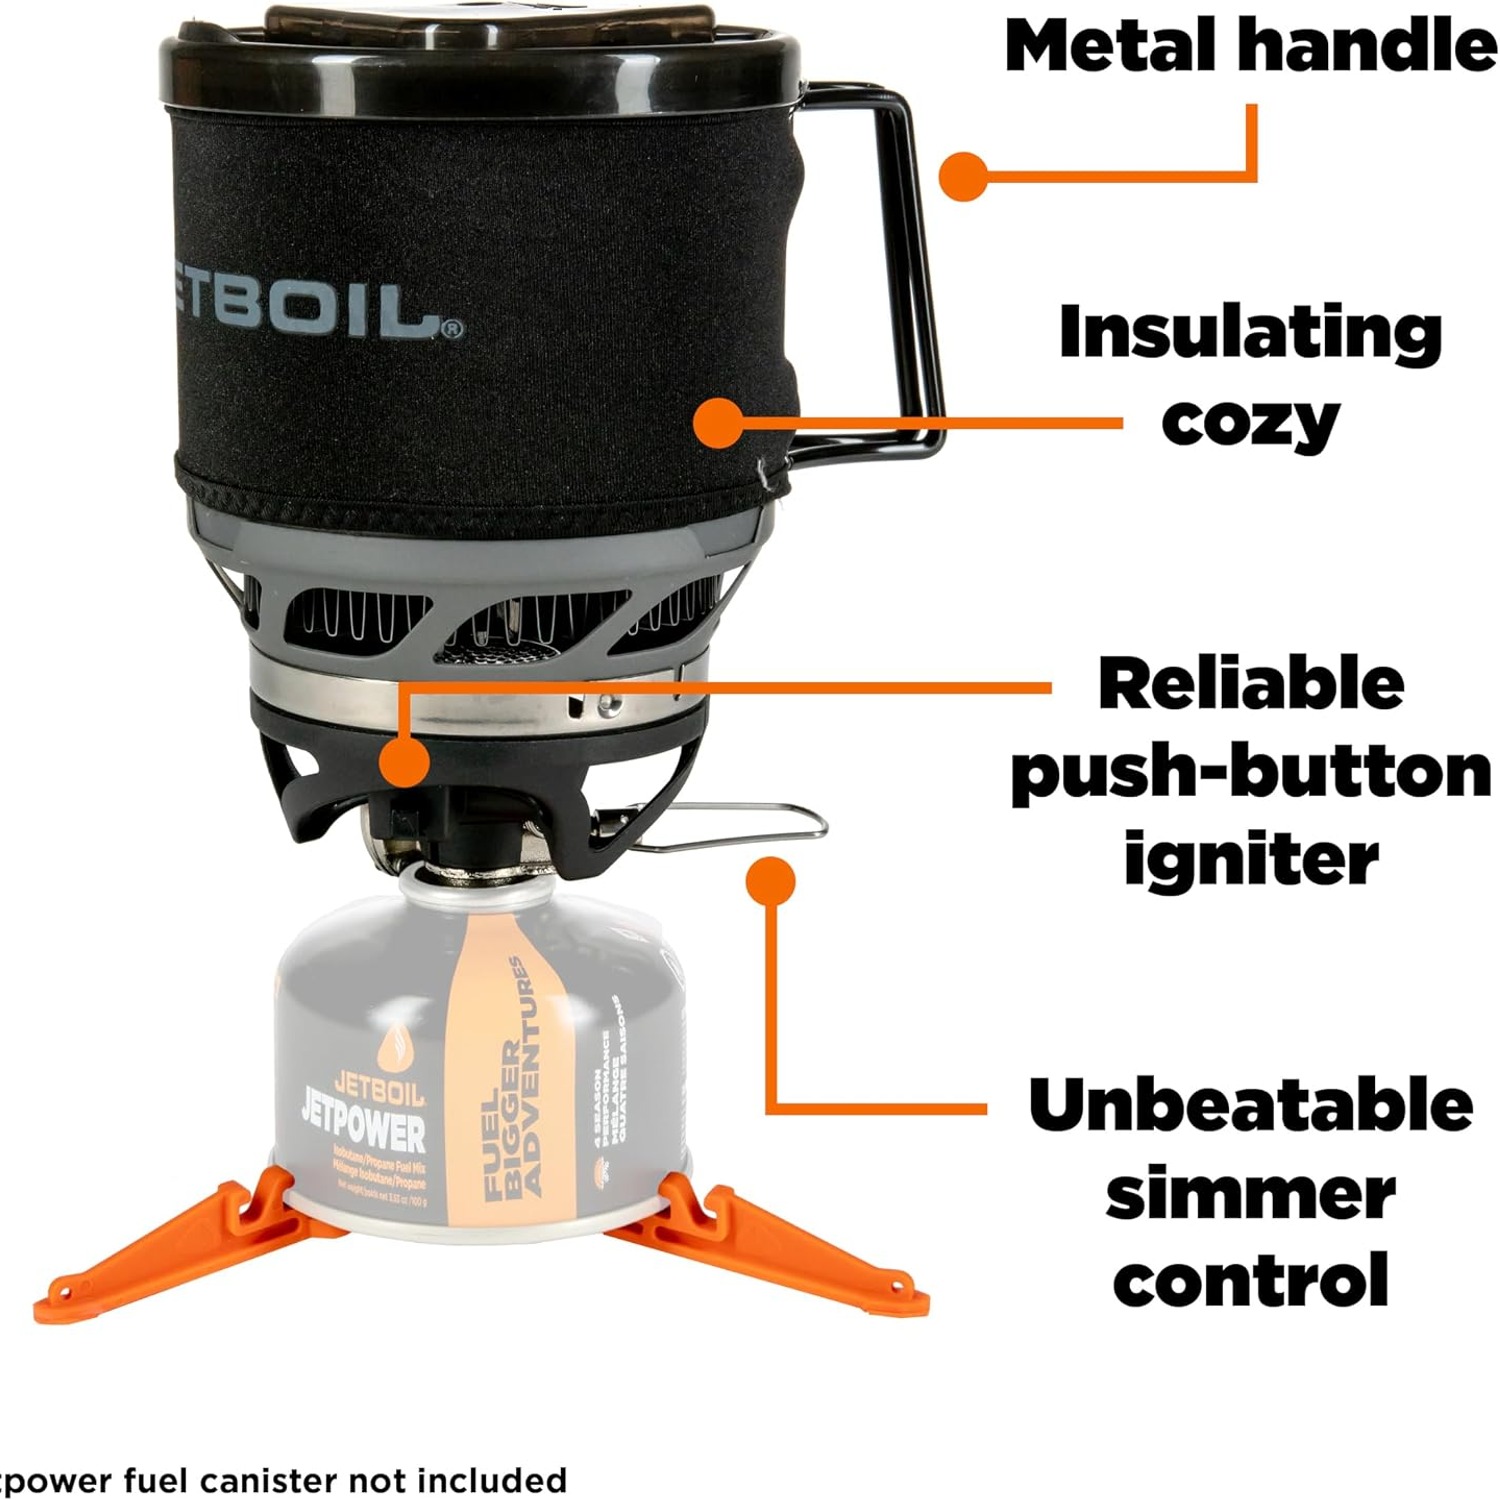
On an ordinary stove, the flame hits a flat metal base and a good chunk of the heat curls around the sides and disappears. On a system like this, the base of the cooking cup has a ring of metal fins. The flame hits those fins, which have far more surface area than a flat disc, and much more of the energy ends up in your food. That is the whole trick, and it is why these systems use less gas for the same job.
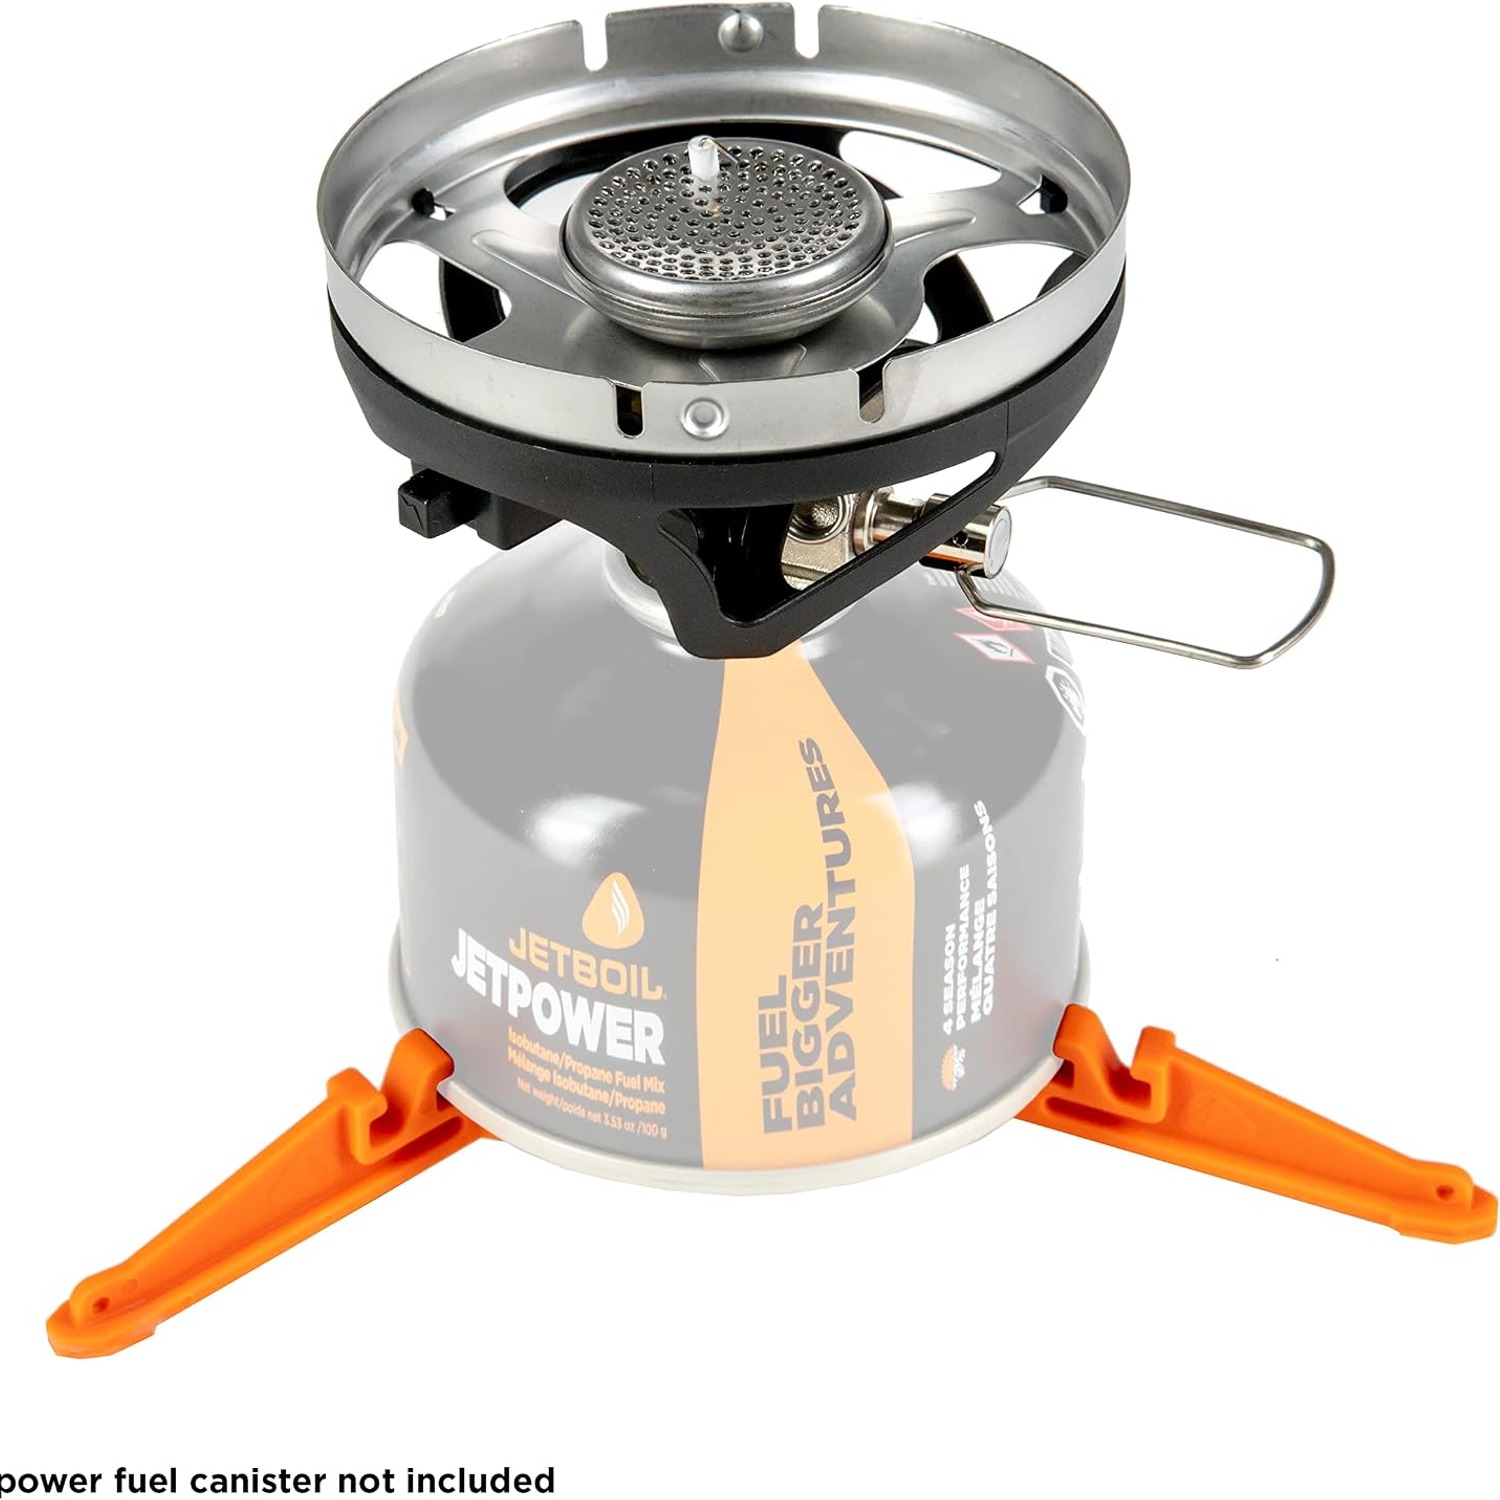
The second part is the regulator. A plain needle valve on a cheap burner gives you a coarse adjustment and a flame that shifts as the canister pressure drops. A regulated burner holds a steadier output, which is what lets you set a low simmer and trust it to stay there while you stir. The MiniMo is rated at a maximum output of 2600 watts, and the point of the regulator is that you rarely need all of it.
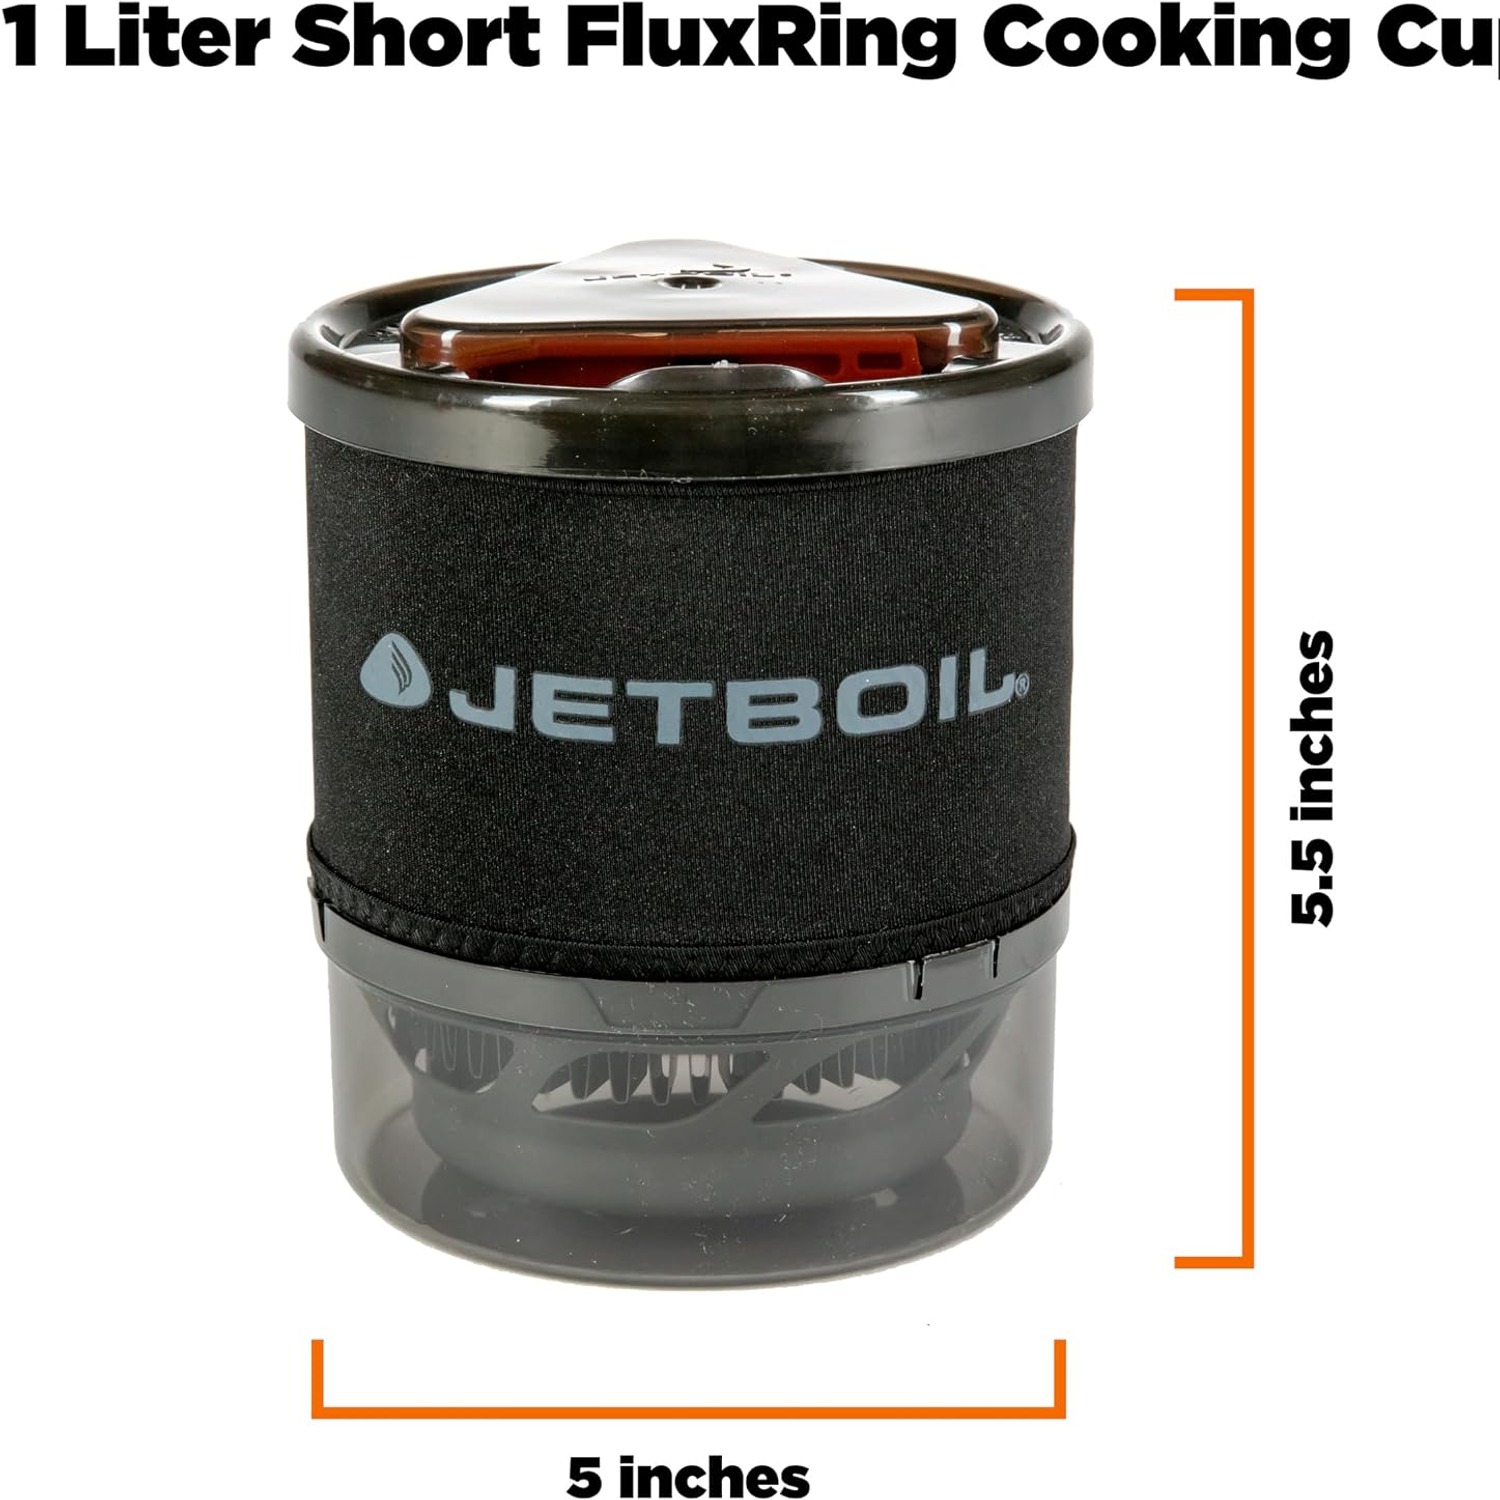
Third is the shape of the cup. Early systems were tall and narrow, like a thermos. Great for boiling, awkward for eating. The MiniMo cup is wider and shorter at 12.7 cm across and 14 cm tall when packed, with metal handles. You can get a spoon into it at a sane angle and stir without the whole thing feeling top-heavy.
Who this suits
Solo hikers and pairs. At 414 grams for the system, this is a realistic carry weight for someone counting grams. The pack size means it disappears into a 40 litre pack without a fight.
People who cook rather than reconstitute. If your camp food involves anything more than pouring hot water into a pouch, the simmer control earns its keep. Rice, pasta sauce, scrambled eggs, porridge that does not weld itself to the base.
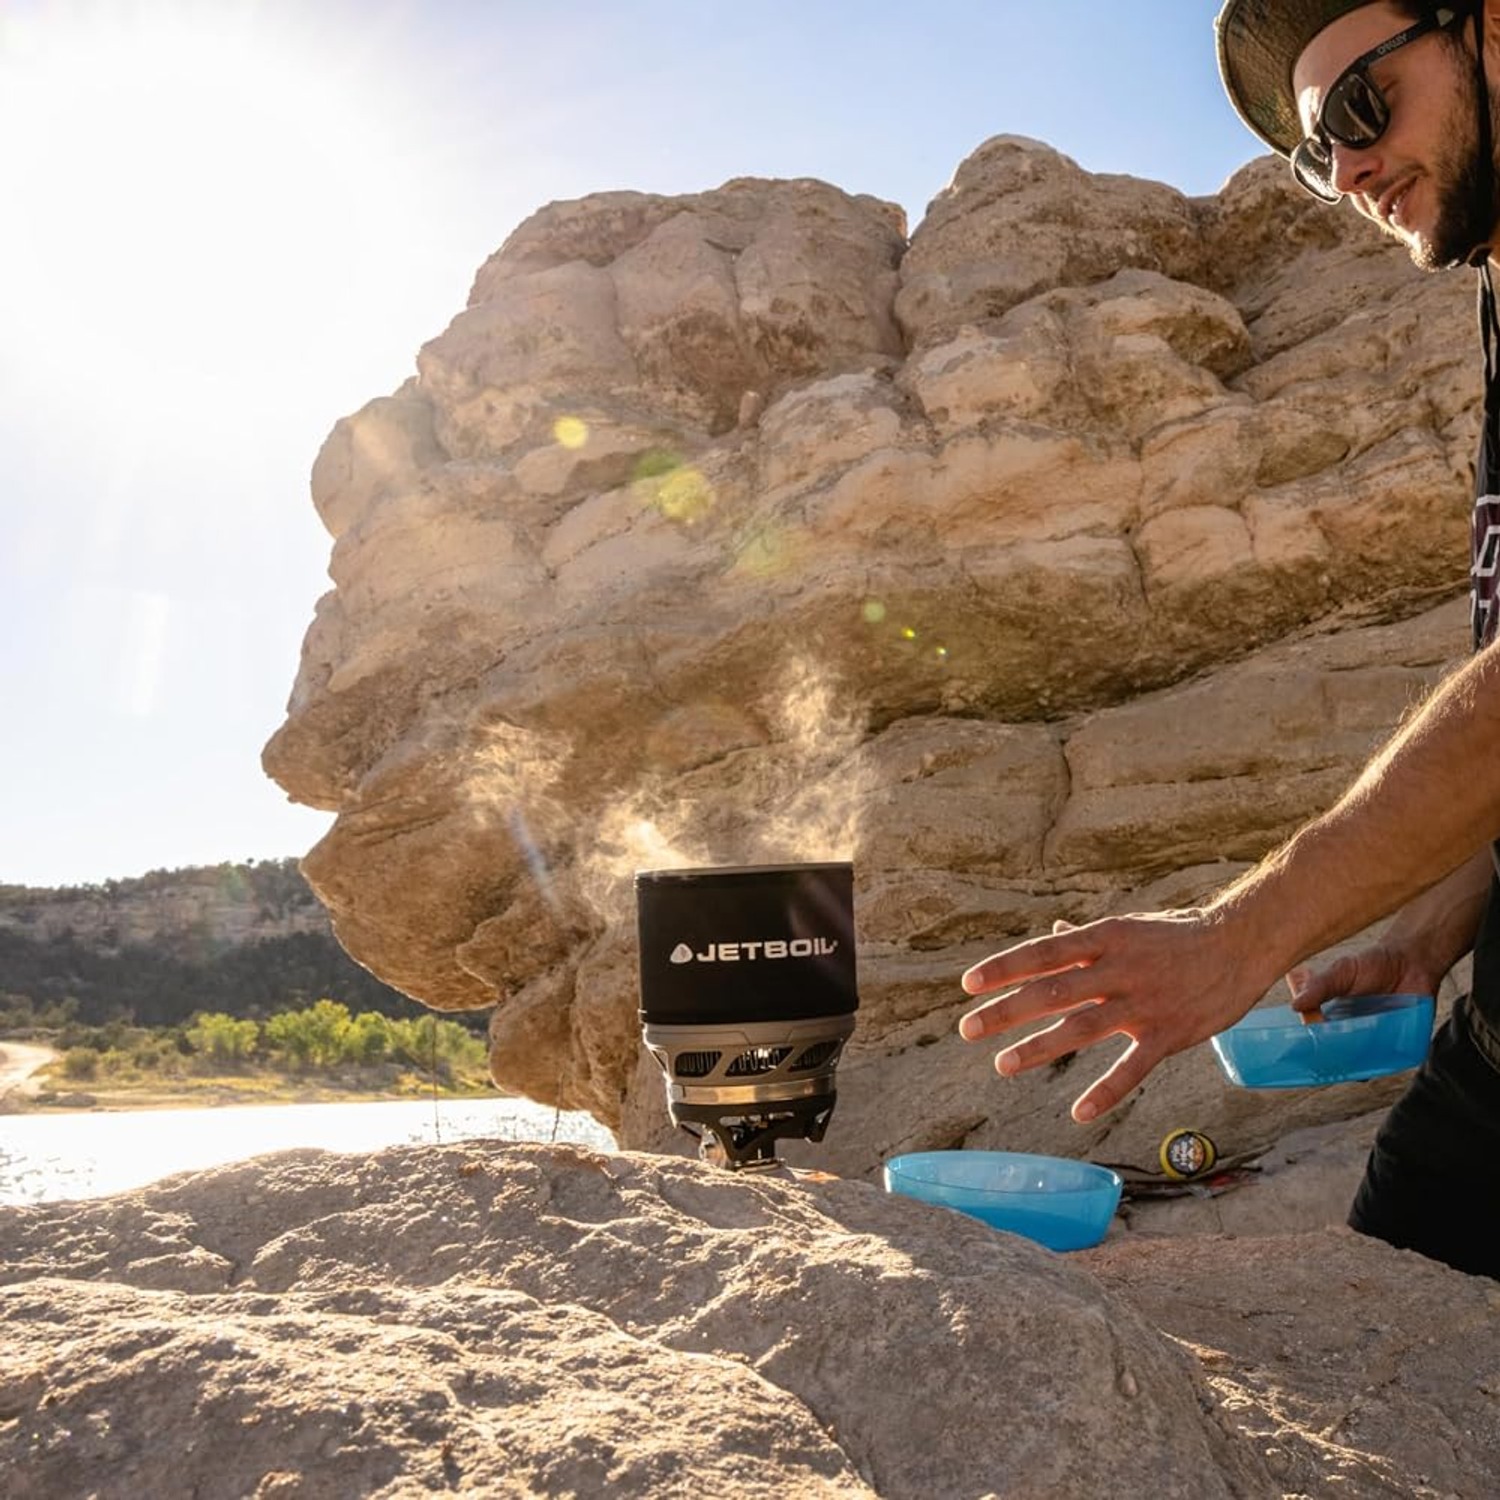
Anglers, hunters and overlanders. Anyone who spends long days out and wants a hot drink or a hot meal without unpacking a kitchen. The push-button igniter matters here, because digging for a lighter with cold hands gets old fast.
Emergency and vehicle kits. It is small enough to live in a boot or a cupboard and reliable enough to count on. A compact camp cooking system you never think about until the power goes out is worth having.
Who it does not suit: large groups. This is a personal cooking system. If you are feeding four hungry people every night, you want a bigger pot and probably more than one burner.
How to choose between stove types
Work backwards from how you actually travel.
If every trip is by car and you cook proper meals for a family, a two-burner propane setup makes more sense. Weight is irrelevant and pan space is king.
If you hike and you only ever rehydrate food, a basic boil-only system or even a bare canister burner with a titanium mug will do the job for less money and less weight.
If you hike and you want to cook, an integrated system with real simmer control is the right tool. You get most of the fuel efficiency of a boiler with most of the flexibility of a proper stove.
A few things worth checking before you buy any gas canister stove:
Fuel availability. Threaded LPG canisters are common, but availability varies by country and by how remote you are going. Check before a big trip rather than after.
Canister size. Small canisters pack better and suit short trips. Larger ones are more efficient per gram of gas for longer trips. Most people end up owning both.
Stability. Any top-mounted canister stove sits higher than a remote-canister model. Use the fuel can stabiliser, pick flat ground, and do not walk away from a full pot.
Cold weather plans. Canister gas loses pressure as it gets cold. If you camp in winter, keep the canister inside your jacket before cooking and consider a four-season fuel blend.
Getting good results in the field
A few habits make a bigger difference than the stove you buy.
Put the lid on. It sounds obvious and almost nobody does it consistently. A lid can cut boil time noticeably and saves gas on every single use.
Start with a lower flame than you think you need. The heat exchanger is efficient, so cranking it wide open mostly wastes fuel and scorches food. Medium gets you there nearly as fast.
Shelter the stove. Even with a wind-tolerant design, a breeze steals heat. Tuck it behind your pack, a rock or a log.
Measure your water. Boiling an extra 200 ml you do not need, three times a day, across four days, adds up to a meaningful chunk of a canister.
And never cook in the tent. Gas burners produce carbon monoxide, and tent fabric catches fast. Cook outside, in open air, every time. No exceptions, including bad weather.
Looking after it
This is simple gear and it lasts if you treat it sensibly.
Let everything cool before you pack it. Hot metal against pack fabric is an expensive mistake. Wash the cup by hand with warm water and a soft sponge. The one thing to be careful about is the heat exchanger fins on the base. Do not attack them with wire wool, and do clear out any burnt-on food that gets lodged between them, because blocked fins work less well.
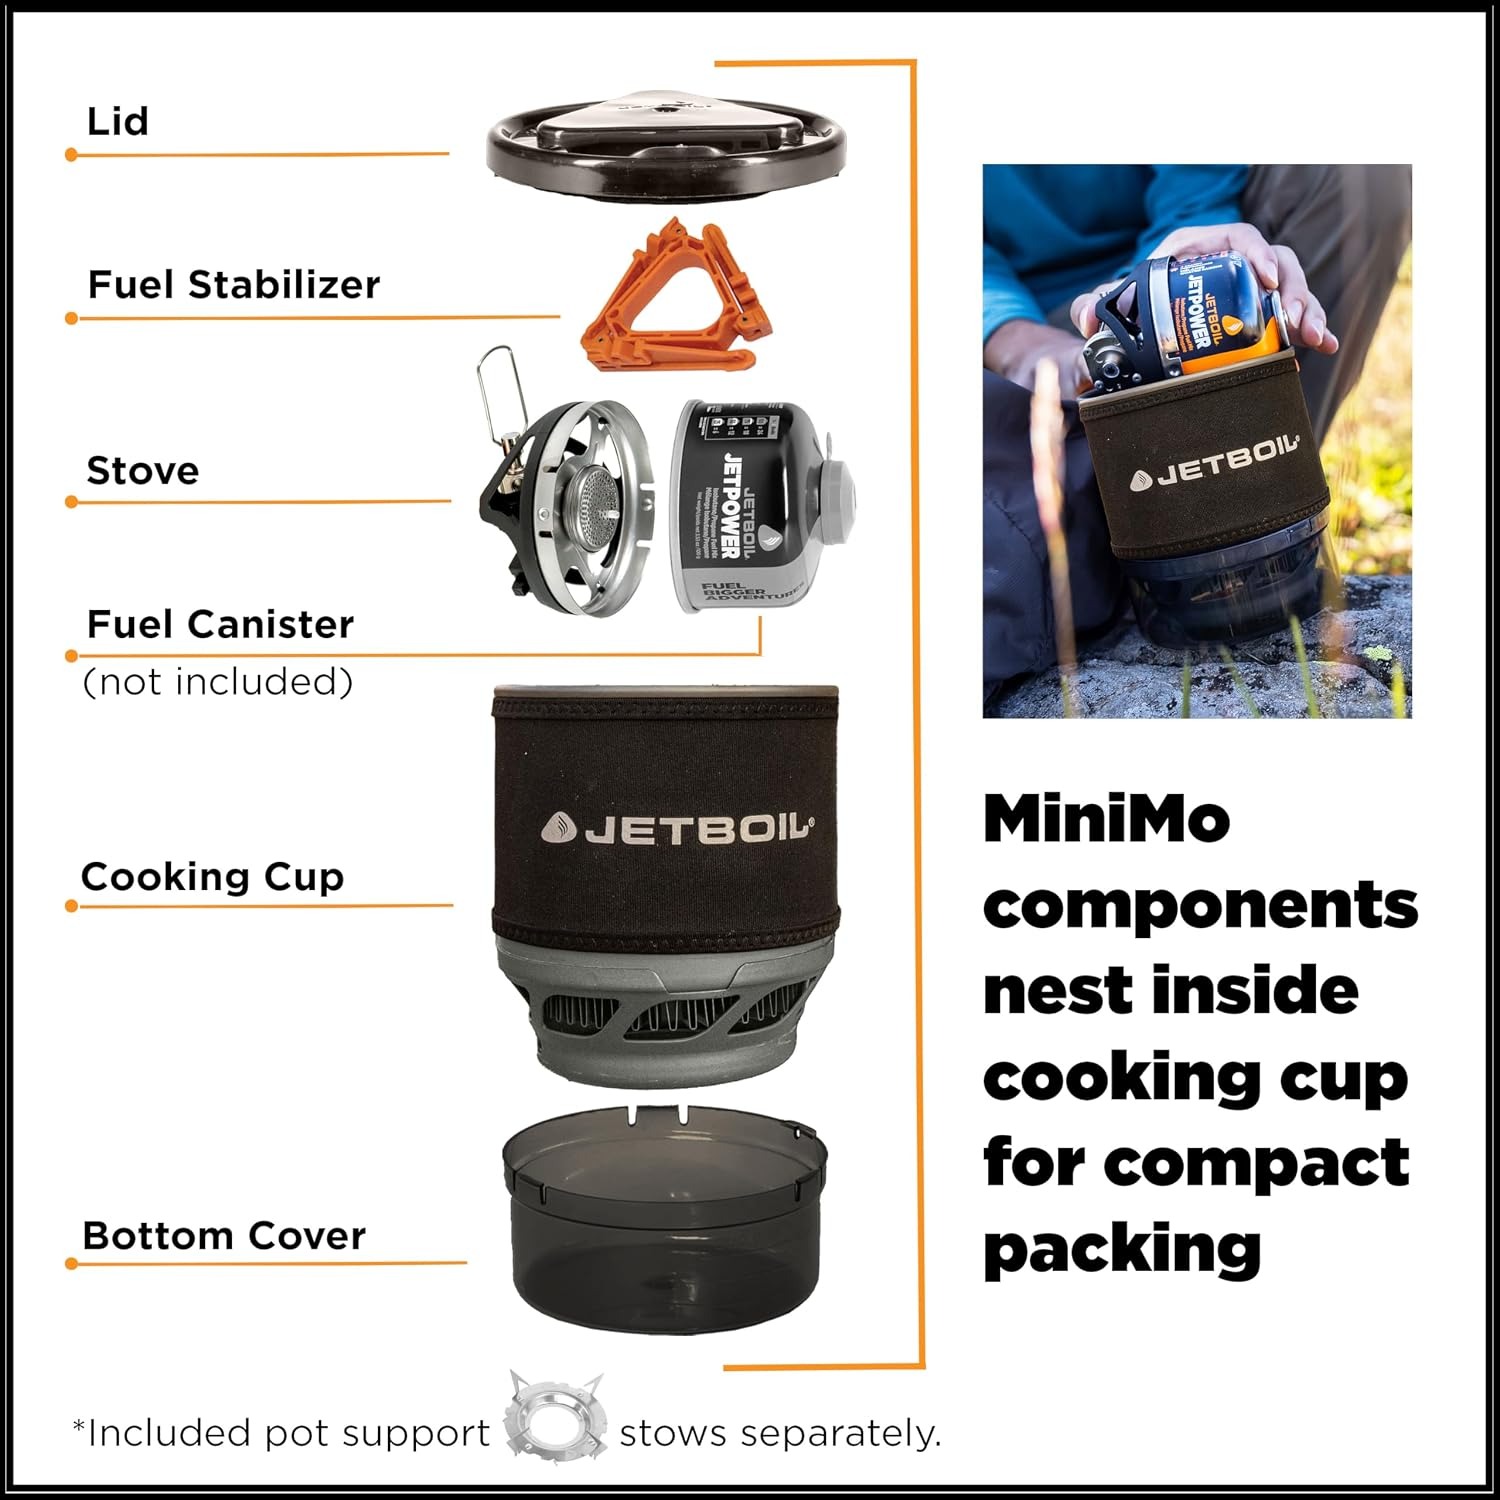
Dry every part before it goes away. Nest the components back into the cup so nothing rattles loose. Keep the fuel canister separate from the stove in transport, and store the whole lot somewhere dry and out of the sun.
Give the igniter a test at home before a trip. If it is not sparking, you want to know in your kitchen, not at 1800 metres in the dark. Carry a lighter as a backup regardless.
This model carries a two year manufacturer warranty, so if something fails that should not have, you have cover.
The short version
If you boil water and nothing else, you can spend less. If you cook for a crowd beside a vehicle, you should buy something bigger. But if you want one compact stove that goes in a pack, lights with a button, sips fuel and lets you simmer a real meal, an integrated personal cooking system is the answer, and the MiniMo is a well-sorted example of one.
It weighs 414 grams, packs to roughly the size of a large mug, puts out up to 2600 watts, and uses standard LPG canisters that you buy separately. The stainless steel cup with its heat exchanger base does the efficiency work. The regulator does the cooking work. The metal handles and low cup profile mean you can eat out of it comfortably.
That is a lot of capability for something that lives in a side pocket.